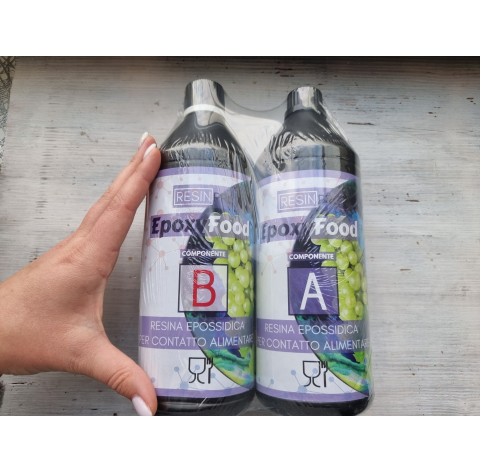
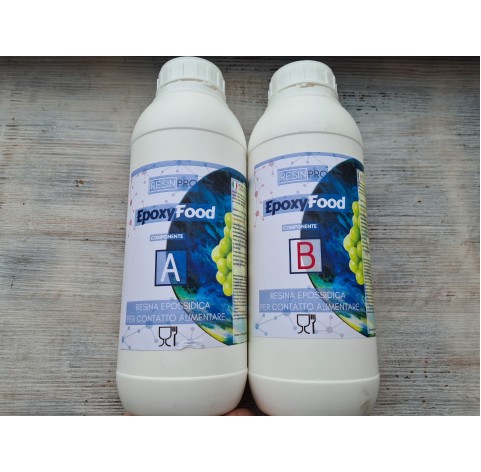
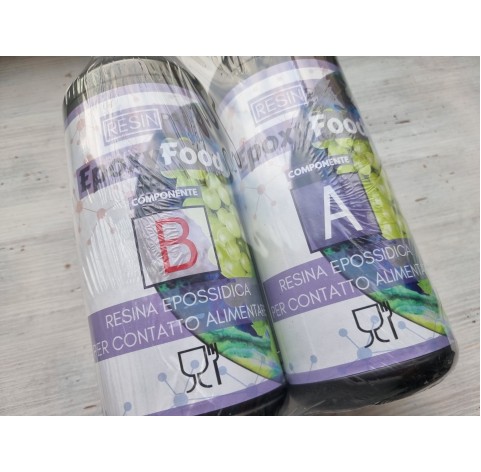
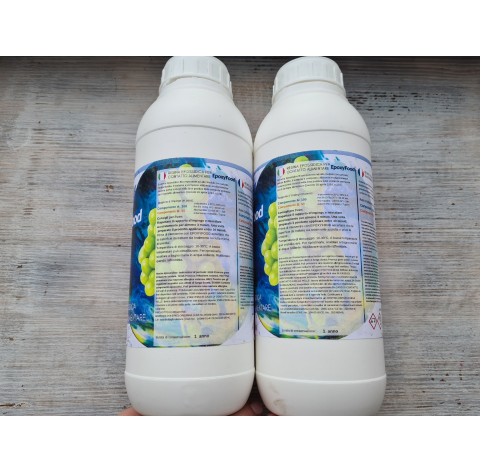
Epoxy resin, Epoxy Food safe, transparent, 1.55 kg
Epoxy resin, Epoxy Food safe, transparent, 1.55 kg
- Brand: RESIN PRO
- Weight: 1,700g
- Availability: 3
-
39.99€
Barcode: 21820125
SKU: 5001080020125
EPOXY RESIN - EPOXYFOOD SAFE
Use ratio: 100 : 55 (by weight)
Pot life: (150 g at 30 °C): 40 min.
Complete catalysis after 24 h
Film catalysis (1 mm at 30 °C): 3h 00′.
Heat resistance: up to 70 °C
Epoxy Resin: general manual
Dear client, thank you for your trust in the RESIN PRO products! In order to help you get the perfect result, we are offering you this brief guide describing the use of Epoxy Resin.
How is the Epoxy Resin dosed?
Being a two-component, you have 2 bottles at your disposal, one containing resin “A” and the other containing hardener “B”. You will need an electronic scale to weigh grams and a container where you can combine the liquids. Put the amount of A you think you need, trying to get a round number in grams (for example, 200 g), this will facilitate the calculation of the amount of hardener to be added. Each product has indicated on the label component A or component B. IMPORTANT: First check the proportion of use indicated above each container, since each resin model has different proportions. Let’s consider an example with 100 A:60 B. We multiply the grams of A previously weighed (200 g) for 60 and then divide for 100 to obtain the grams of B to be added. Practical example (proportion 100:60) 40 g of component A. How much of component B should I add? Solution 40 * 60 = 2400 – 2400 / 100 = 24 – 24 grams of B.
You can use this same formula for each percentage of use of our resins on our website, 100:50, 100:25, 100:35, etc.
How is the resin mixed?
After an accurate dosage, the resin must be mixed irregularly (meaning, always in the same direction) for at least 2-4 minutes. This part is very important, because if it is mixed only for a few seconds, it will not be homogeneous at the molecular level, therefore will remain soft / opaque in some parts. It can be mixed with either electric whips or a simple stick. Mix evenly on the edges and bottom of the container. (Do not mix very quickly or forcefully because that would cause a lot of bubbles).
How is the resin applied?
It can be applied with any instrument, simply by pouring it from the container (and waiting for it to self-level), it can be applied or spread with a brush, roller or spatula. 1.6 kg / m2 of resin is needed to have a thickness of at least 1.5 mm and have a selfleveling (mirror) effect. If thicknesses less than 1.5 mm are applied (with a brush or a roller), kindly verify that the surface of the application has a minimum of absorbency (e.g. Wood, cement, etc.). In fact, if minimal thicknesses are applied on non-absorbent surfaces (enamel, ceramic, plastic), the resin shrinks and does not self-level properly. In this case, it is preferable to apply a thicker layer (more than di 1.5 mm of thickness, equal to approximately 1.6 kg / m2).
How do I get rid of the air bubbles?
Although degassing (vacuum) is necessary to eliminate 100% of the bubbles, there are some tricks that can help you minimize the presence of bubbles during the creations. 1) Mix the resin longer but in a more delicate and uniform way. 2) Before mixing, heat component A (in the sun or using a radiator), so that it becomes more liquid and the bubbles rise more easily. 3) Leave it to rest for a few minutes to release the air bubbles. 4) Once launched, use a heat source (thermal pistol or fire, NOT a hairdryer) to burst the bubbles on the surface.
Can it also be applied vertically or on inclined surfaces?
Even though the optimal application is on horizontal surfaces, the resin can also be applied on inclined / vertical surfaces. In this case, we recommend the following: 1) Mix A + B, in a large container (so that the thickness of the resin does not exceed 1 cm). 2) Wait for 10-30 minutes (depending on the ambient temperature) so that the resin begins to increase its temperature. 3) Once the resin thickens (therefore casting less), apply it on a vertical surface with a roller or a brush.
How does epoxy resin solidify? Can the hardening process be accelerated?
Again, it depends on the formulation and the temperature, but being a “thermohardening” polymer, the more it is exposed to heat, the faster the catalysis, as a general rule, for each 10 °C the catalysis time is divided in half. Example: 10 °C = 8 h 00, or 20 °C = 4 h 00, or 30 °C = 2 h 00, to accelerate the catalysis, it is sufficient to keep the casting close to a heat source (even a simple radiator). Be careful not to heat more than 1 cm thick castings. In fact, the resin may become too hot due to the mass effect (to be explained later in the guide).
Exothermic reaction: how to calculate the maximum amount of resin to be poured?
The amount of resin to be prepared depends not only on the thickness obtained, but also on the total mass of the cast resin and the ambient temperature. In the case of casting larger than 10 cm and longer than 50 cm, it is always advisable to use half of the maximum jet indicated in the package, i.e. it is advisable to reduce the maximum thickness by 50%, also when working during the summer or in warm places above (25 °C). A few examples when creating large castings or working above the recommended 25 °C: - If you use our 10 cm epoxy resin, it is advisable to make 5-6 cm thick layers. – If you use Epoxytable Five resin 5 cm it is advisable to make 2.5-3 cm layers. – If you use our resins up to 2 cm, it is advisable to make layers of 1.5 cm. For any questions or additional information contact us by phone or through e-mail, we will be happy to advise you and resolve your doubts!
How do I eliminate surface opacities or small waves formed as they solidify?
These surface opacities are the result of the interaction with environmental humidity, which creates a patina on the surface of the cast. At first it is not obvious, but as soon as it starts to solidify, in some places you can notice opaque halos and even “wrinkles”. There are different strategies to avoid this: 1. Work in low humidity (dehumidified) conditions or in a heated environment. 2. Heat the 2 components before mixing (for example, holding them over a radiator). 3. Mix the resin with the hardener and apply it only when it starts to heat up (so that the reaction begins while it is still in the container). This operation is essential, but requires minimal attention. It should be checked every 5-6 minutes and as soon as it reaches 40 °C (when it’s warmer than our hand) it can be applied. Otherwise, it could start solidifying in the container! 4. It is advisable not to apply during the night or when it is raining (since the humidity increases). 5. Do not apply on surfaces that still contain humidity, like on fresh cement or on non-dried wood. – If due to humidity, the resin is not glossy, no problem: just pour a new layer over (following the instructions above) and it will become perfectly transparent and regular.
Why is the resin becoming very hard?
The degree of hardness depends on the formulation, the resting time and the catalysis temperature. Also, the mechanical resistance of the resin continues to increase up to 5 – 6 days after the application. So, after 24 hours it may still seem soft, but in the following days it will continue to harden to become a “hard” plastic (“similar to Plexiglas”, as a practical reference).
How do I clean dirty instruments with the resin?
To clean brushes and spatulas, you should use thinner or acetone. For the containers in which it is mixed, in the case of plastic, leave the resin to harden for 24 hours, the next day it will come off easily (like a shell). In the case of glass or metal, clean immediately with thinners.
Once the resin has hardened, can it be filed, cut or polished?
Of course. Once it is well catalyzed (24 h – 48 h) depending on the catalytic temperature, the resin can be processed as normal hard plastic. To polish (with abrasive paper and polishing cream) we recommend to wait an additional 24 hours, so that the product becomes very hard and, therefore, shinier after the treatment.
What can I use to color the resin?
Practically, everything, including powder and metallic pigments. As long as the dyes are “dry” (for example, dust or sands) there are no problems (as long as they are perfectly dry), when, instead, you want to add pastel or liquid colors, make sure they are compatible with epoxy resins. If they are not compatible (for example enamels, tempera, acrylics) only a few drops can be added, since an excessive dosage could compromise the mechanics of the resin and its brightness (for example making it soft or sticky).
Component A opaque or “crystallized resin”?
At this point we will talk about a common problem (especially during the cold season): the “crystallized resin”. Anyone who has worked with the resin at least once has had the “frozen” resin problem. In other words, the component “A”, especially when exposed to low temperatures (even for a short period), takes on an “opaque and whitish” color. In fact, epoxy resins contain some diluents that may “crystallize” even at + 10 °C. Freezing is a normal process that does not affect product quality and is carried out in a similar way as the transition between water and ice, therefore it will be sufficient to heat it to reverse the process!
How to “unfreeze” the resin?
Just heat the resin on 50 °C. In the case of small packages, component A can be placed in the “bain-marie” for a few minutes (make sure that the water does not get in the package, otherwise it would ruin the product). ATTENTION: the process is reversed only if the resin is brought to more than 50 °C. The lower temperatures (even if they last longer) will have no effect. – What happens if my package is too big to be put in “bain-marie”? For large packages, it is recommended to place it in an oven heated to 70-80 °C for 30-60 minutes (depending on the degree of freezing). Obviously, make sure that the plastic tank does not touch the oven walls and (for safety) place it inside a plastic tank, in the (unlikely) case of leaks. – The QUICK alternative (if you need to defrost only a few tens of grams) place the grams you need in a plastic cup, cover it and put it in the microwave for 10-15 SECONDS (AT MOST!). The resin will immediately be transparent again. – The resin loses its properties once it “unfreezes”? Absolutely not, it’s just a physical state of the liquid. Like water and ice, it does not affect the quality of the product.
Why is the resin nots self-leveling?
As soon as the resin is applied it appears smooth and perfect, but after a few minutes it can begin to “retreat” and if it does not intervene immediately, once hardened, it leaves a surface like an “Orange peel”. This happens because of 3 main reasons: 1) The application surface has been treated with incompatible products (impregnating agents, waxes, etc.) 2) Not enough resin was applied. In this case, we recommend a minimum quantity of 1.6 kg / m2 so that the resin creates a 1 mm thick layer and can self-level properly. 3) The surface was not perfectly horizontal / planar, thus bringing a difference in the resin itself.
How is the resin applied in thin films or with a brush / roller?
For a self-leveling and “mirror” effect, we recommend applying a minimum of 1.6 kg / m2. If lower thicknesses are required, apply with a brush or roller, make sure the applied surfaces is porous or absorbent (like raw wood, concrete or else). In case of non-absorbent surfaces, such as glass, micro-cement, plastic, ceramic or enamels, we recommend applying more resin (1.8 kg / m2) for a correct selfleveling effect.
In summary… the three golden rules
Since it is difficult to remember all the tips, we recommend beginners to concentrate on at least 3 fundamental points: 1 – Proper dosage and mixing with electronic scale and mixing for at least 2 minutes, (a minimum of 3 minutes is recommended). 2 – Application at a minimum temperature of 20 °C avoiding humid environments (or surfaces) application (if you are not sure on the humidity, let the resin warm up before pouring it, as described at the beginning of the guide). 3 – Use of a heat gun to remove bubbles on the surface.
Tags: epoxy resin, food safe resin, clear epoxy, transparent resin, casting resin, resin for molds, diy epoxy, art resin, resin jewelry, liquid epoxy, glossy resin, epoxy for table, epoxy craft

-481x472.jpg)


